
Written by Andy Neat, Product Manager- Marking & Installation
Morning and welcome again to one of my Monday morning blogs! Today I’m going to talk about ‘top tips’, which is very topical in the Neat household at the moment as I have a 5 week old baby. So all hints and tips for a full night’s sleep are gladly welcome at the moment!
So if you use Phoenix Contact marking systems or are looking at using them in the future then with out further a do, please read on where I’m going to jump straight in and give you my low down on top tips for using Phoenix Contact marking systems:
1- ‘Ctril & N’
A quick way to hand type consecutive numbers on the Project Complete software is to simply type the first number, then hold ‘Ctrl’ and press ‘N’ ……and away you go! This can be used with prefix too for example with the a letter in front of the number.
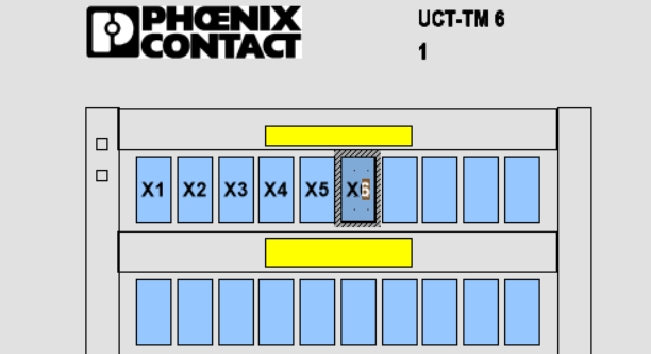
2- Template design.
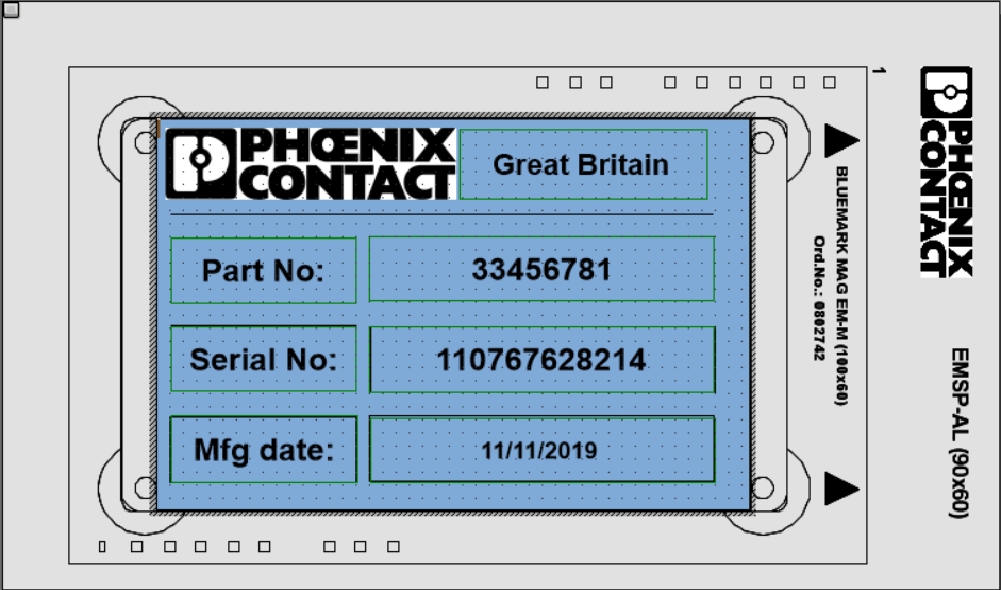
Where you are printing name plates or serial plates for panels or machines etc, it’s often useful to have the information pre-set and only alter the variable information. To do this you can create a template which you can lock and protect from users changing any information but leave open text boxes that can be altered. What’s more, if all the information you require is on a spreadsheet then you can import all this into designated cells on the label template.
3- Marking App
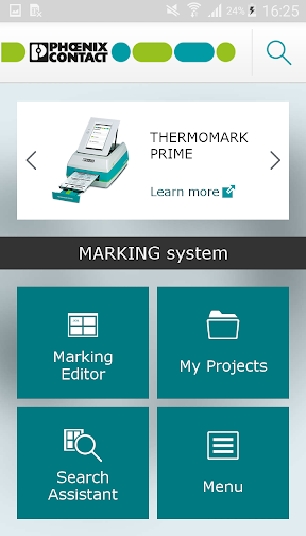
Yes Phoenix Contact have an App for marking! It’s very good too. You can download this on Andriod and Apple, although you can do more with the Android App. On the Apple App you can use it to search for marking material based on application, environment and specification which will then link you to our website. You can also use the camera on your smartphone to scan barcodes of Phoenix Contact products, of which the App will then give you the correct marking materials. On Android you can do all that but then you can also actually design your marking project on the app directly and then Bluetooth to the printers…pretty cool!
4- IEC colour coding.

*This tip is only applicable if you have a Bluemark ID COLOR printer*
If you use the individual cable numbering system where you have one colour for one digit, then you know it’s time consuming. Not with Phoenix Contact though! If you have to use the IEC colour coding and want to save a lot of time then you can use Phoenix Contact’s ‘IEC’ button on the Project Complete software. This will automatically colour code all your markers ready to print in glorious colour.
5- Eplan Integration

If you use Eplan, then you may as well use a Phoenix Contact marking system….and visa versa! We have a great relationship with Eplan and you have both Project Complete and Eplan’s software present on the same PC then they can be completely integrated together. All you have to do is press the ‘export to marking’ button and then, as if by magic, all your markers are made and ready to be printed as quick as me saying it! As too is the case with the Project Complete Planning software- with one click of a button all your schematics from Eplan will now become layout drawings in Project Complete.

And that’s it! That’s’ my top 5 tips for using Phoenix Contact marking systems. If you knew them all already then my apologies…I’ll send you a free Phoenix Contact bottle opener 😉 But hopefully these tips have been useful and you want any further assistance or tips in the future then you know where I am.
Thanks for reading, and now I’m off for a nap zzzzzzzz.
For more information contact Andy on 07786 252414 or email aneat@phoenixcontact.com
Very Interesting,